Hull 4 min read
Freshwater Sailboat Antifouling: Sanding to Thin Film Graphite
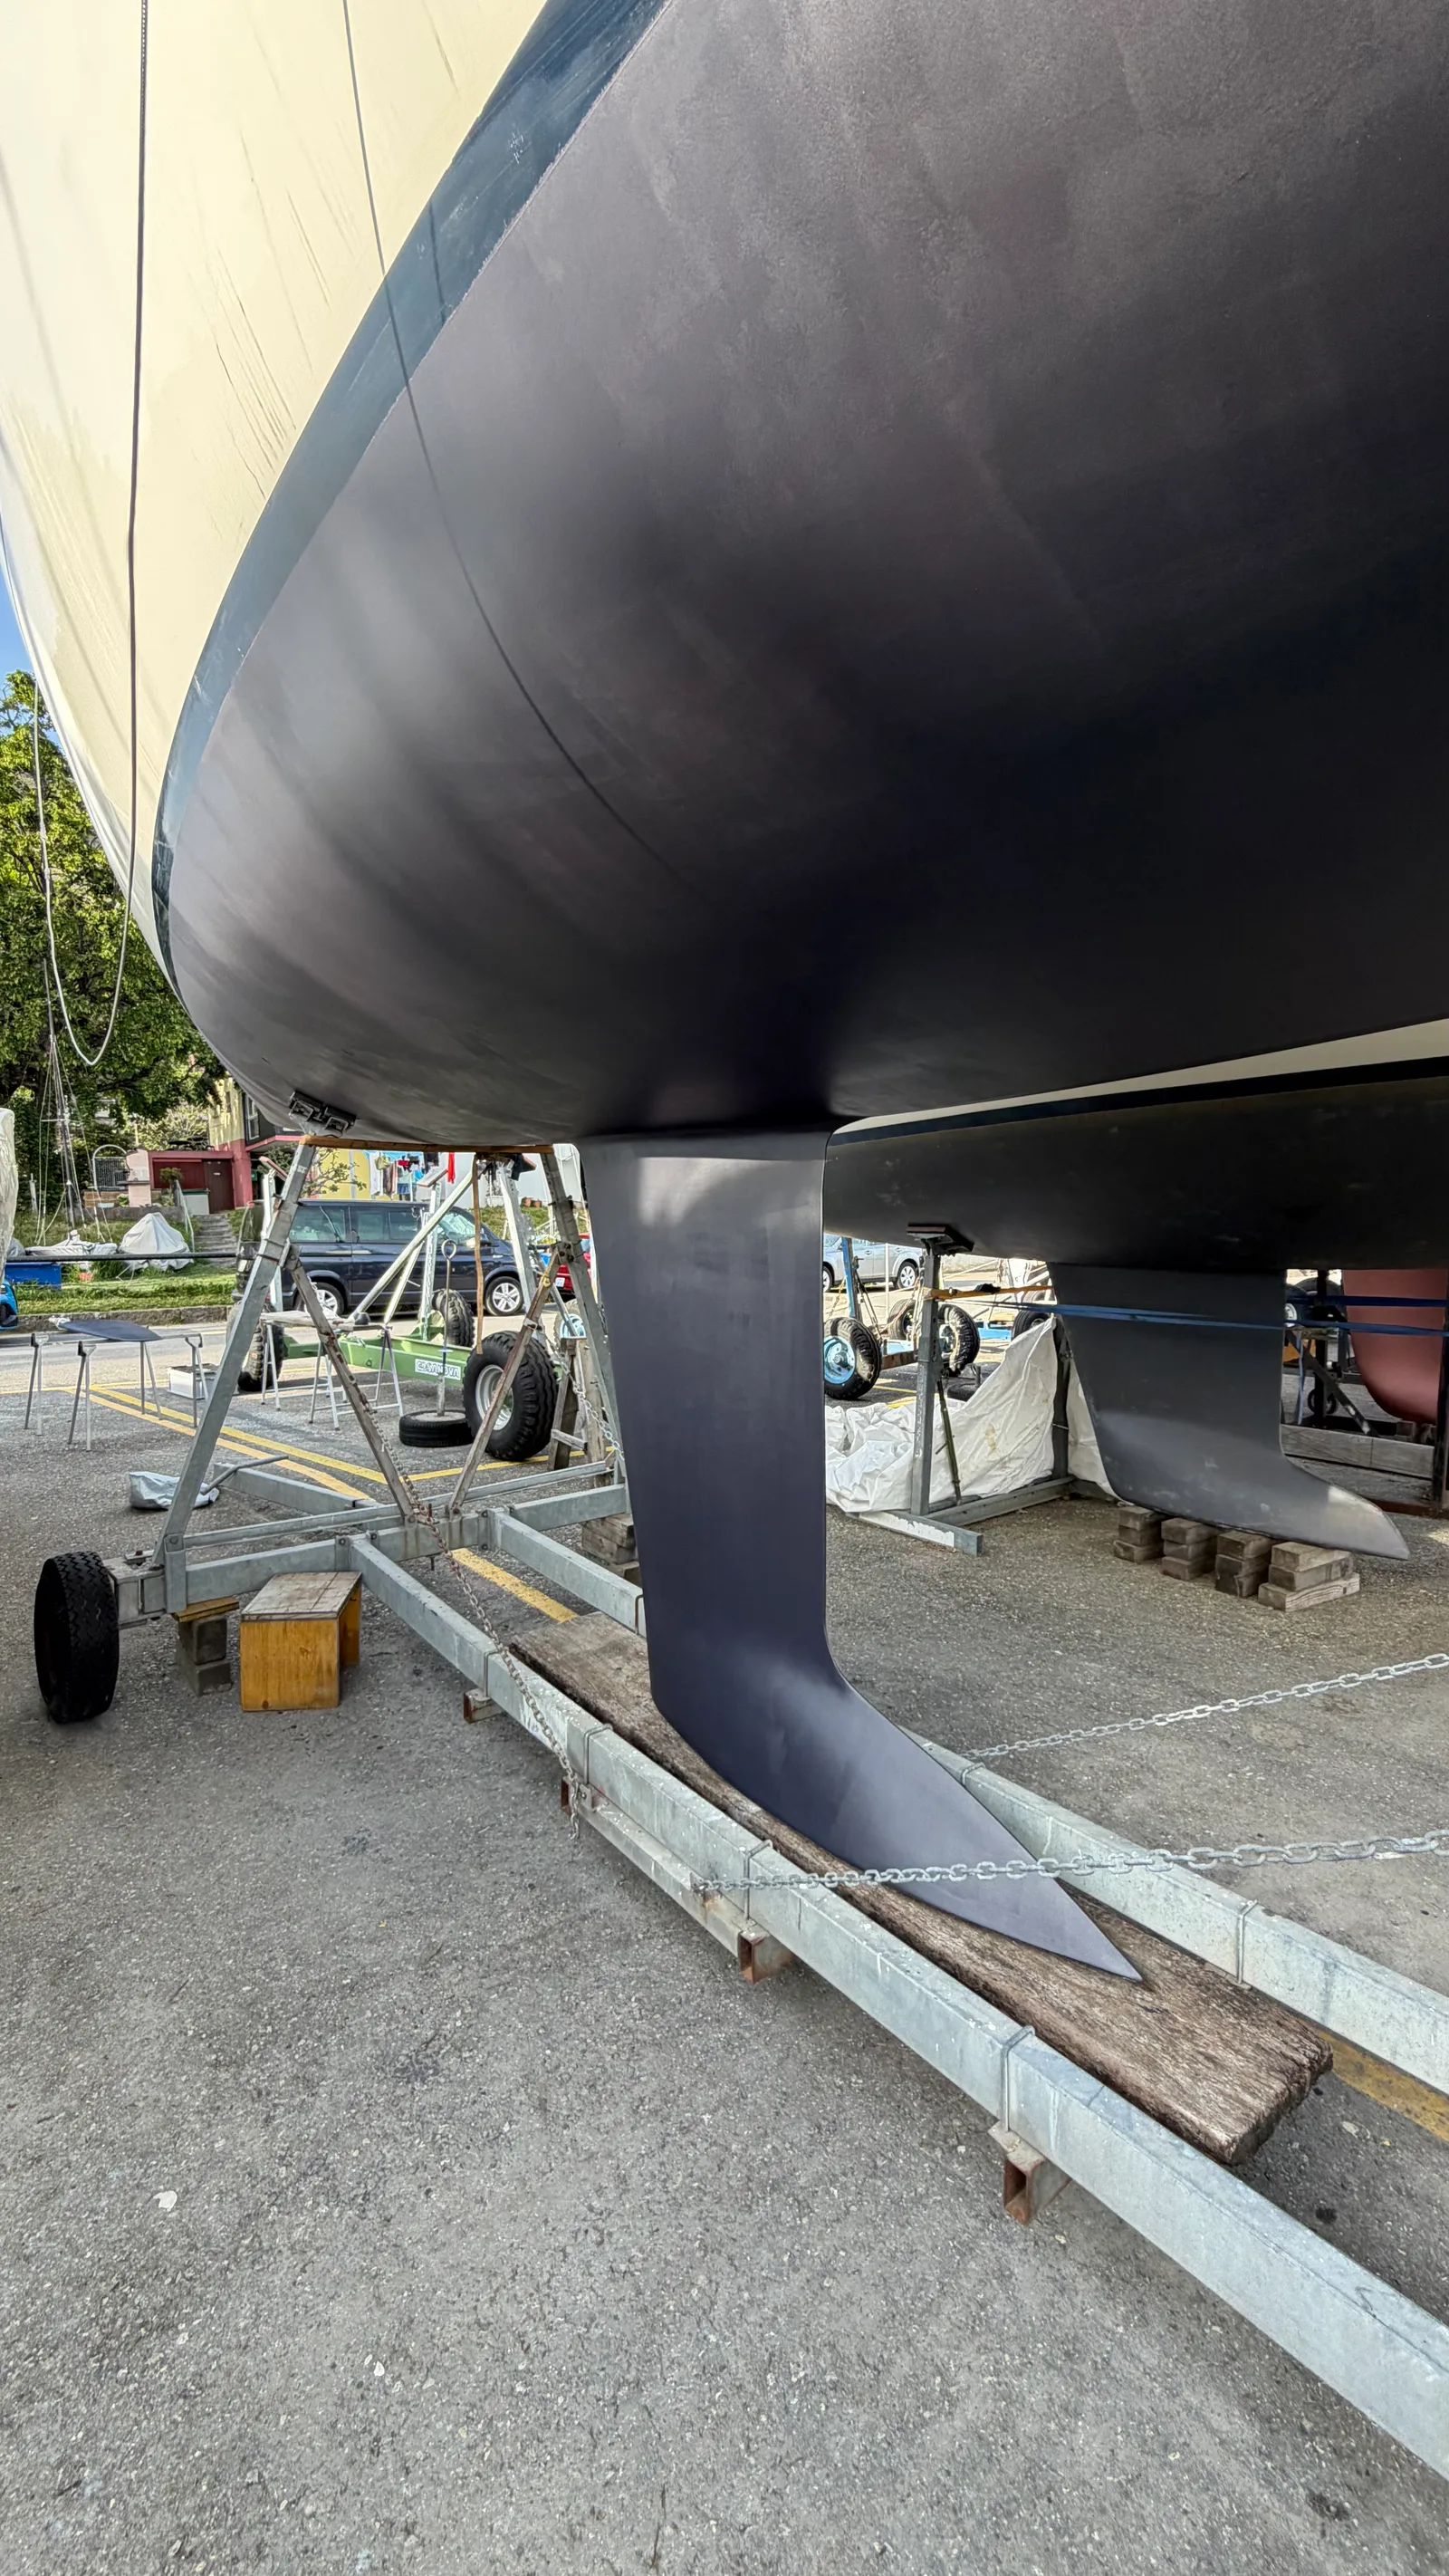
Renewing antifouling on a J/92s for Lake Geneva: sanding hull and appendages to a sound base, then three coats of hard graphite Thin Film.
Read next
Repairing a chipped bow and scratched port topside on a J/92s: two-component gelcoat, progressive sanding, spray finish and polishing to a bright, even hull.
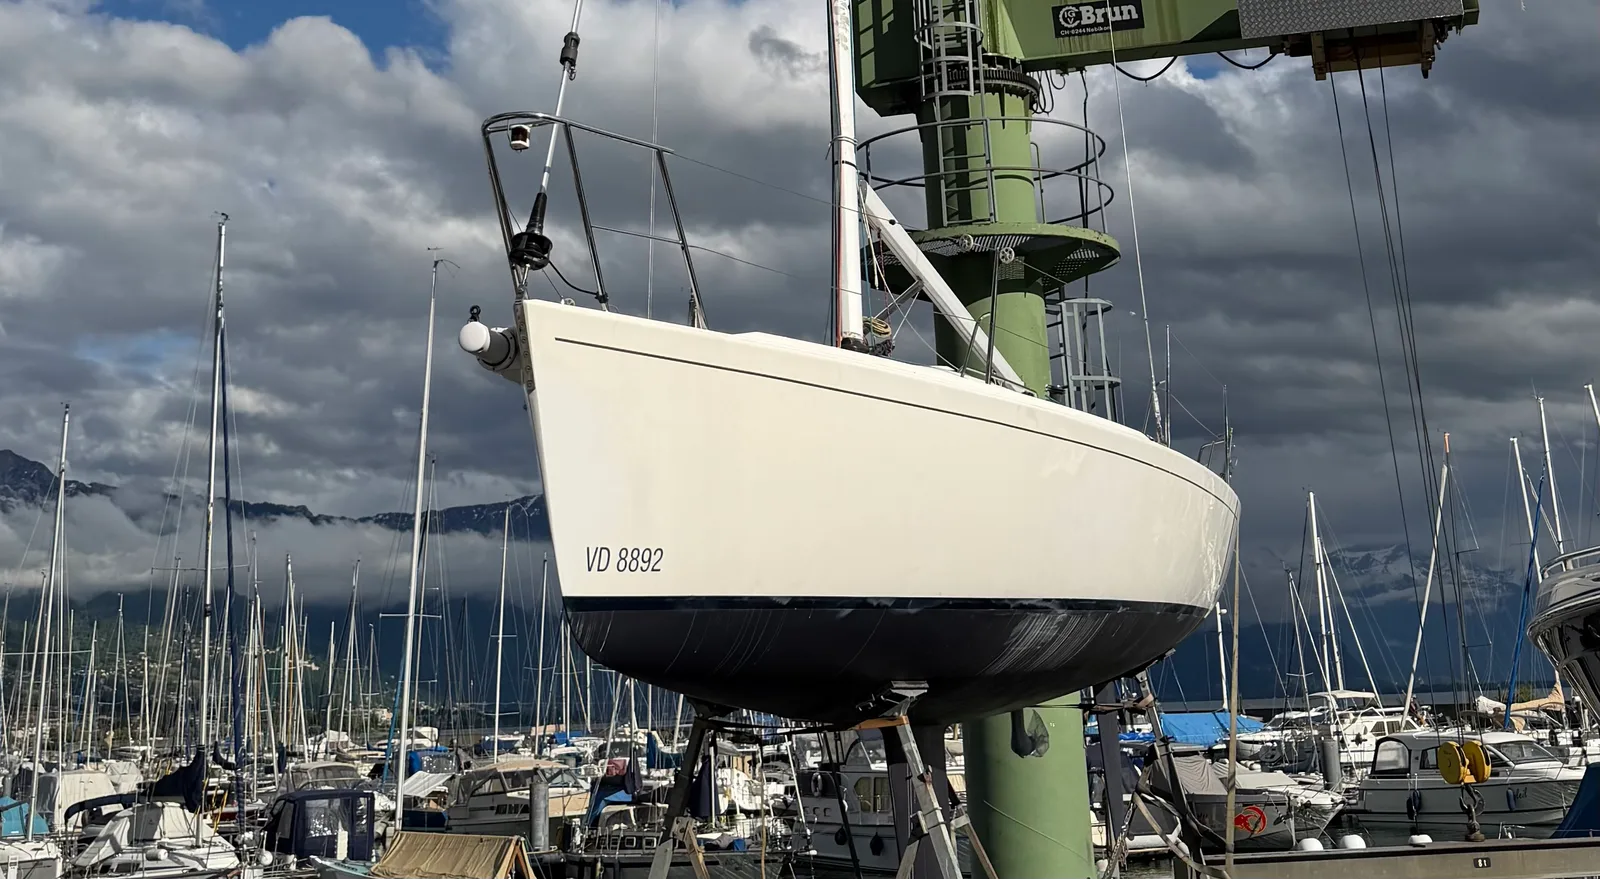
Before you repair a hull, read what marked it — to tell whether it’s cosmetic or structural. On Jamais, a 2008 J/92s on Lake Geneva, the bow was well chipped and the port topside heavily scratched. Nothing that speaks of neglect: on a boat that has raced these are normal marks — and, good news, purely cosmetic.
The bow was chipped, with blocks of gelcoat missing — typically impacts, at the dock or on the start line. The most telling was on the port topside: an area roughly 1 to 1.5 m long by 50 cm high, entirely scratched — the kind of close contact that happens on the edge of a start or a tight mark rounding.
On a boat that has raced, it’s unfortunately normal: you always end up finding a few cosmetic scratches, and the better the crew, the fewer they leave. The essential is elsewhere, and it’s reassuring: cosmetic only — no osmosis, no water ingress. Damage that doesn’t touch the structure, so perfectly repairable.
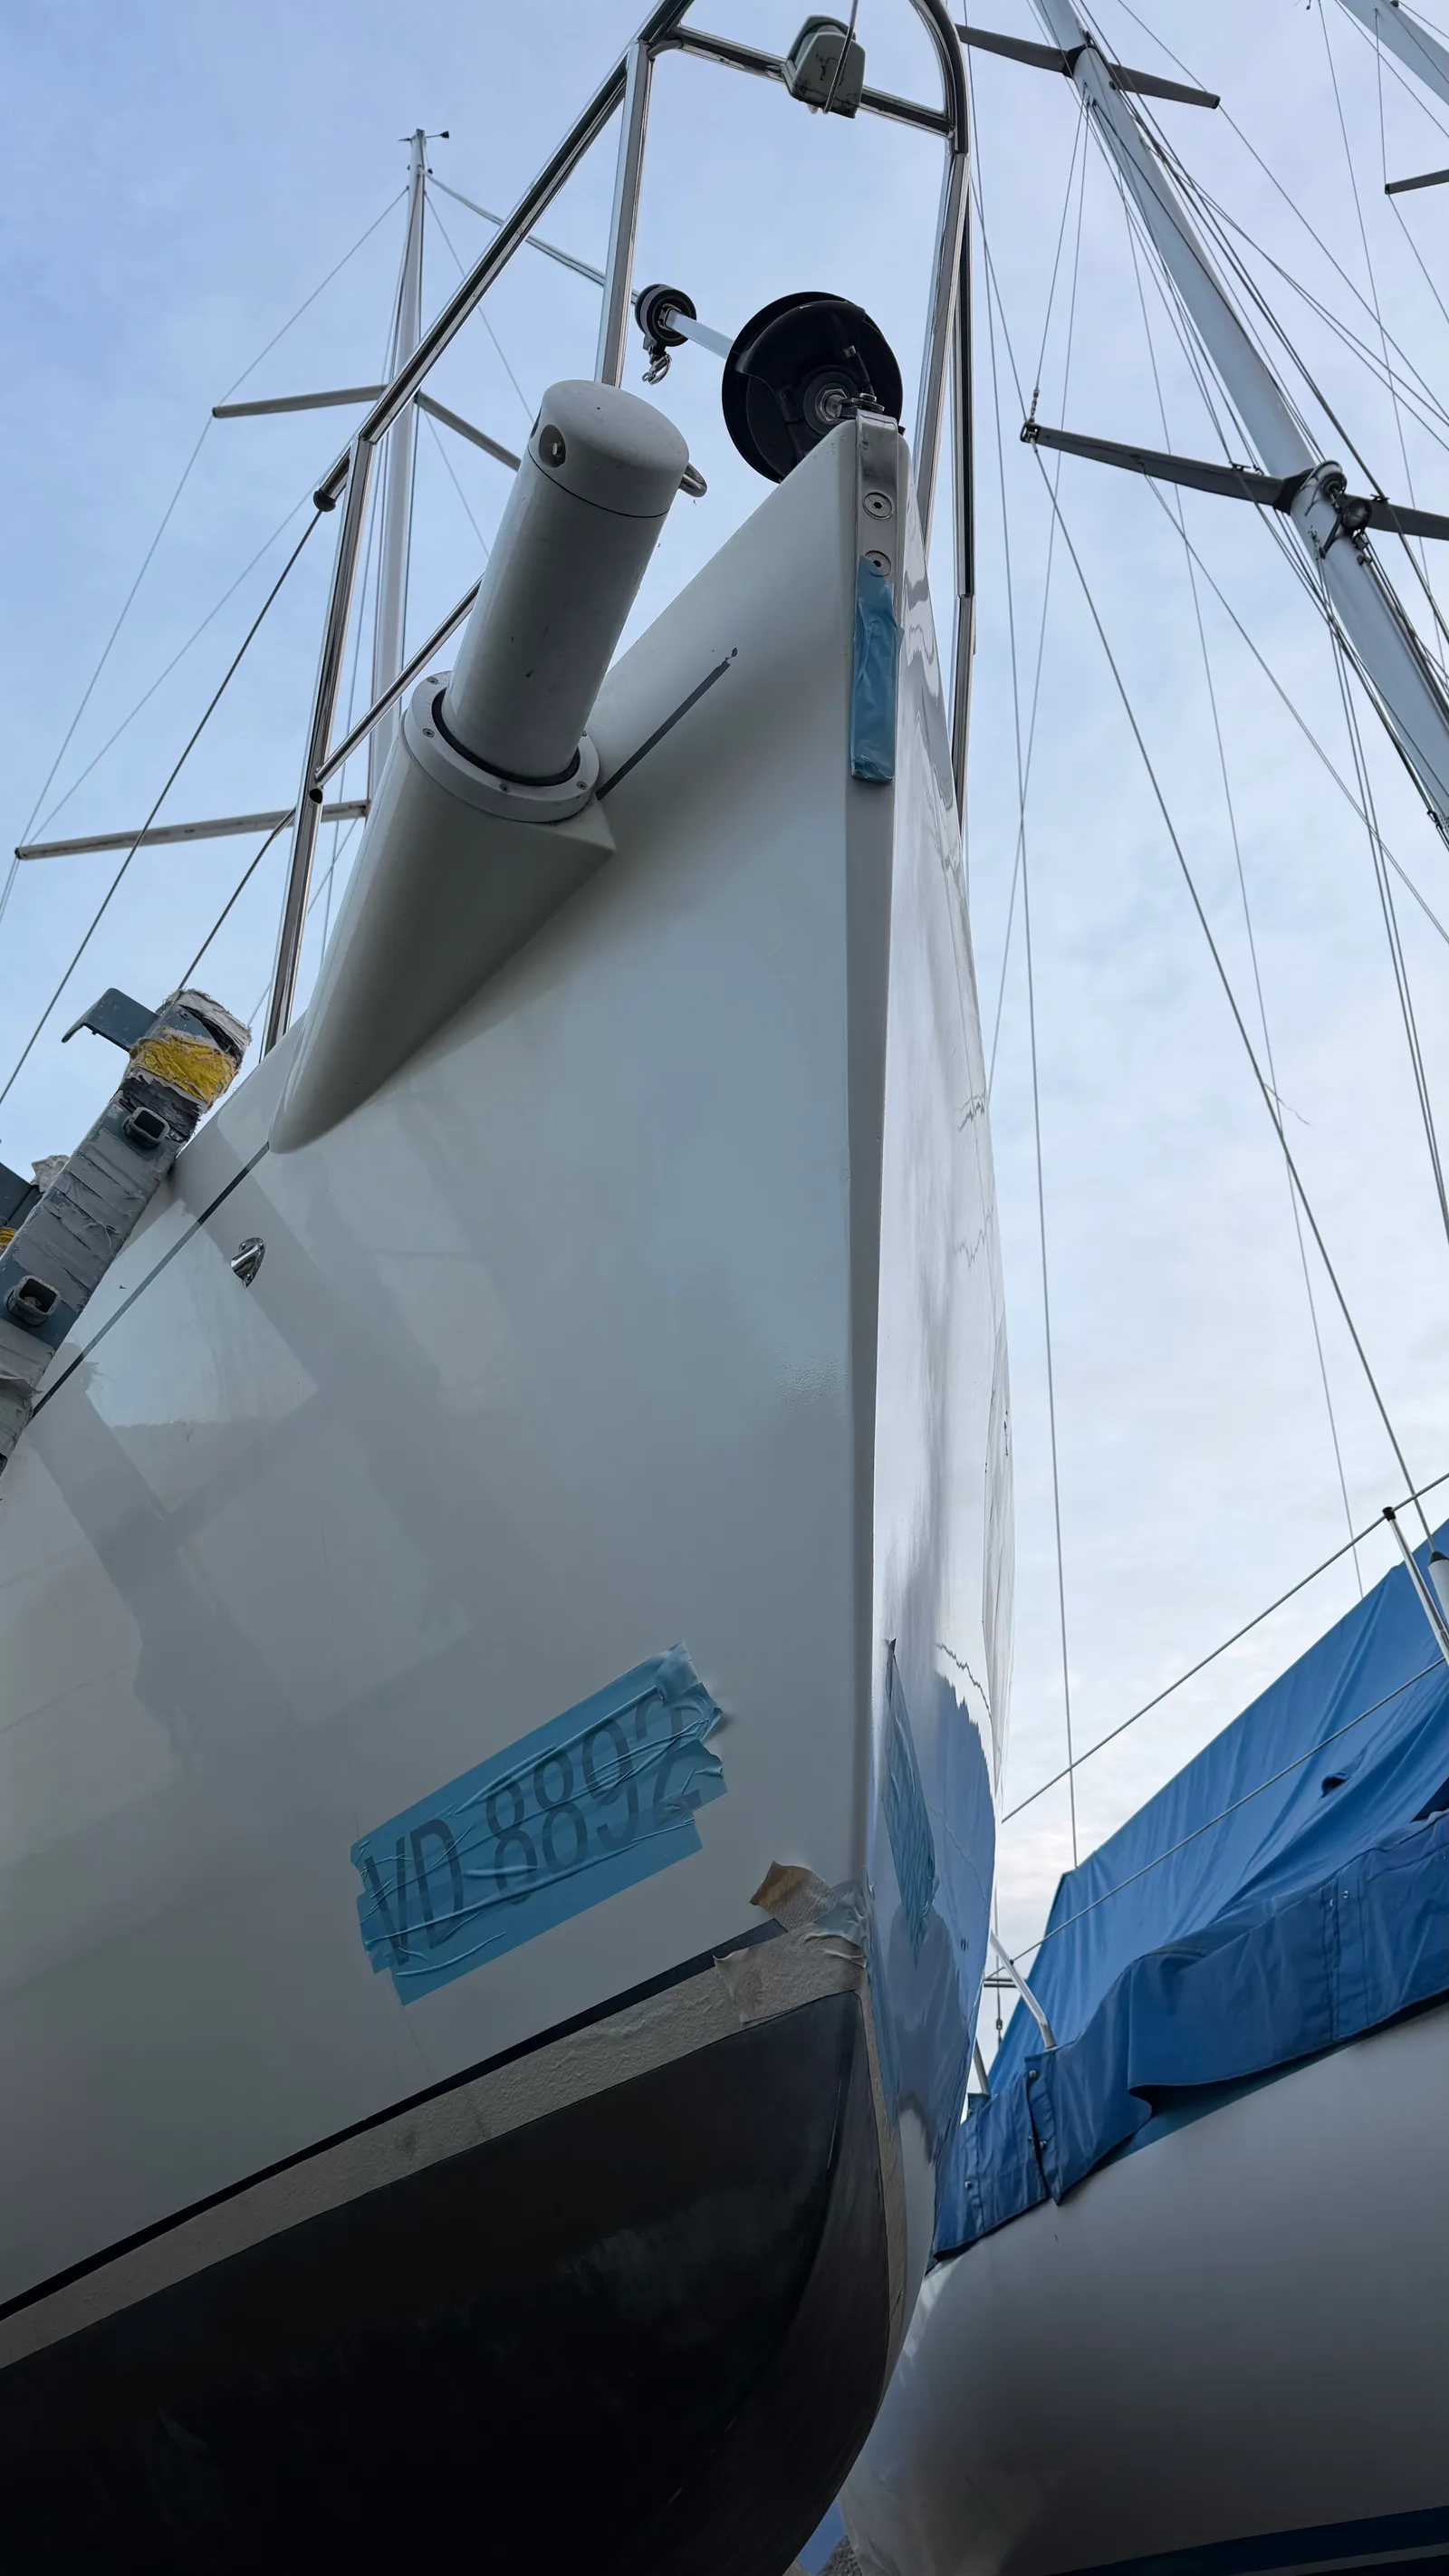
The repair was done with Osculati two-component white “4 in 1” gelcoat, applied like a spreadable filler to rebuild the missing material. From there it’s all patience and grit:
The logic is always the same: rebuild the material, level it through decreasing grits, lay a finish, then polish. You don’t skip a step — each grit erases the scratches of the last.
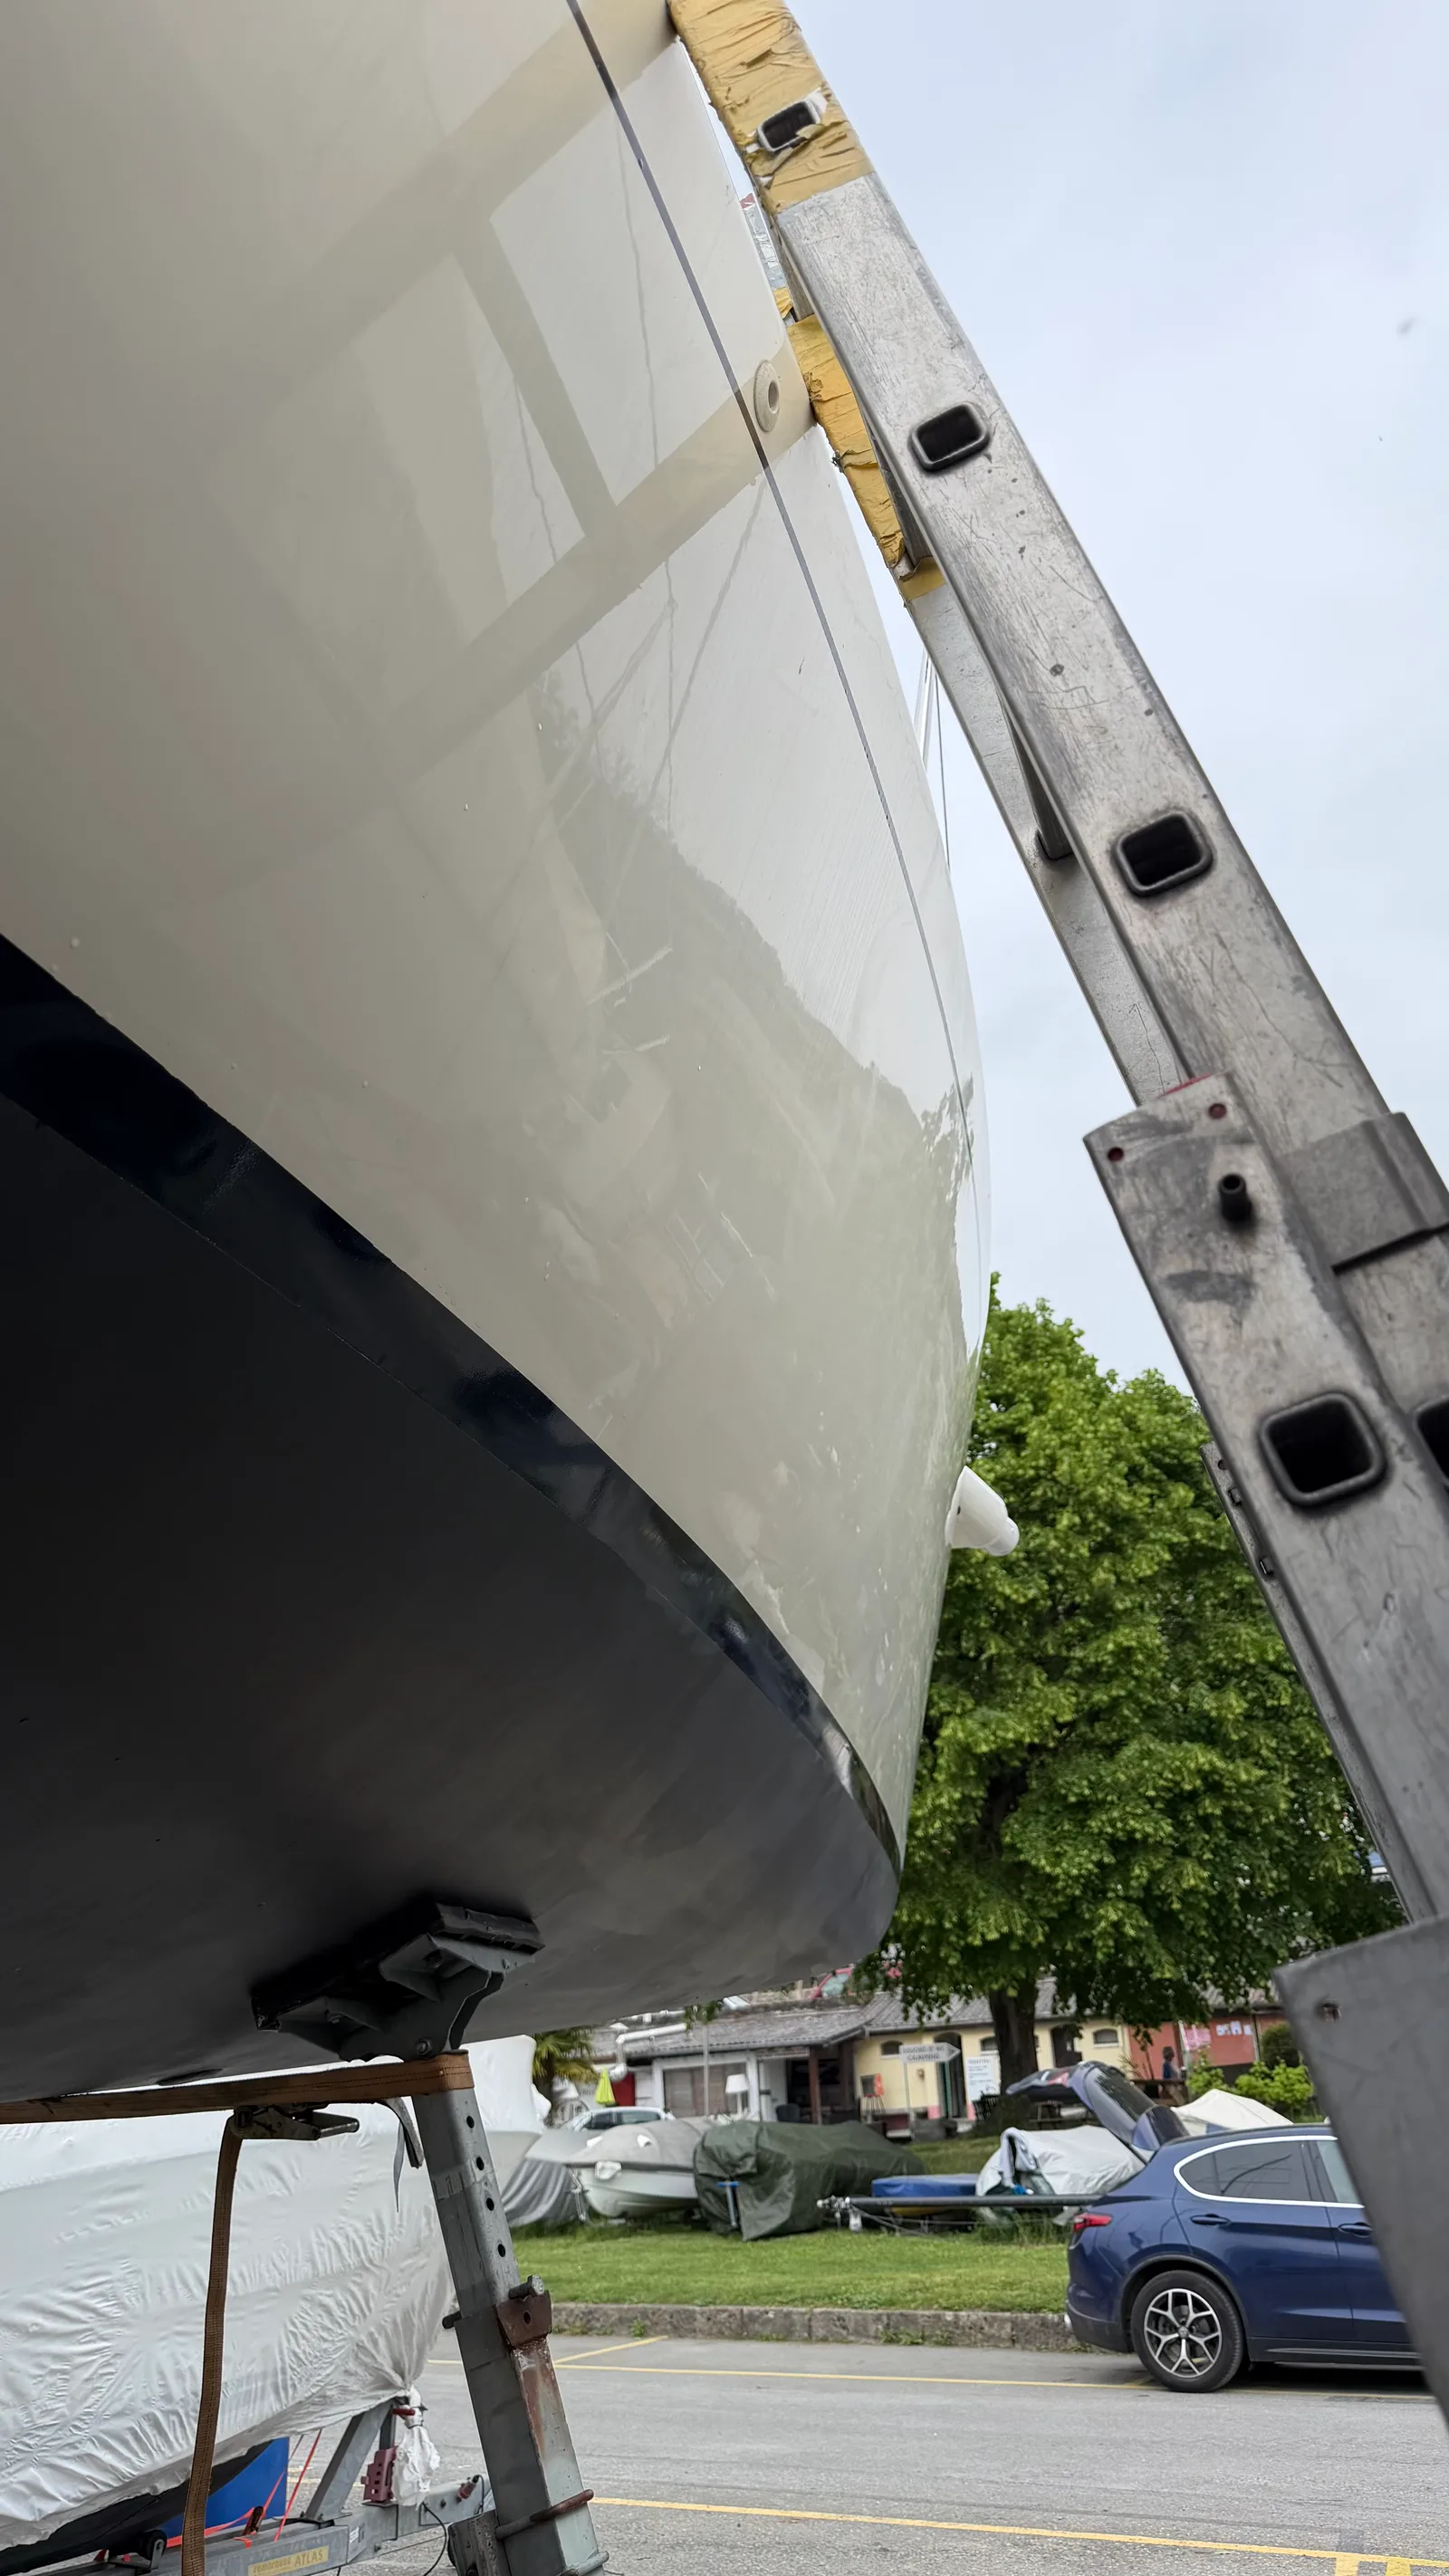
A useful lesson came with it. The sticker bearing the Swiss Rating System number had been left on at least 8 months, maybe 20. Removing it took several hours, scraping millimetre by millimetre: the sun had baked the adhesive into the gelcoat.
Two habits follow. Apply stickers with soapy water: you position them cleanly, and they come off far better later. And above all remove them in good time — before UV turns an adhesive into a half-day repair.
Once everything was reworked, the whole hull was polished with an orbital polisher and polish — not just the repaired areas, so colour and gloss are even end to end. The result, before launch, was a clean hull with no visible trace of the repairs.
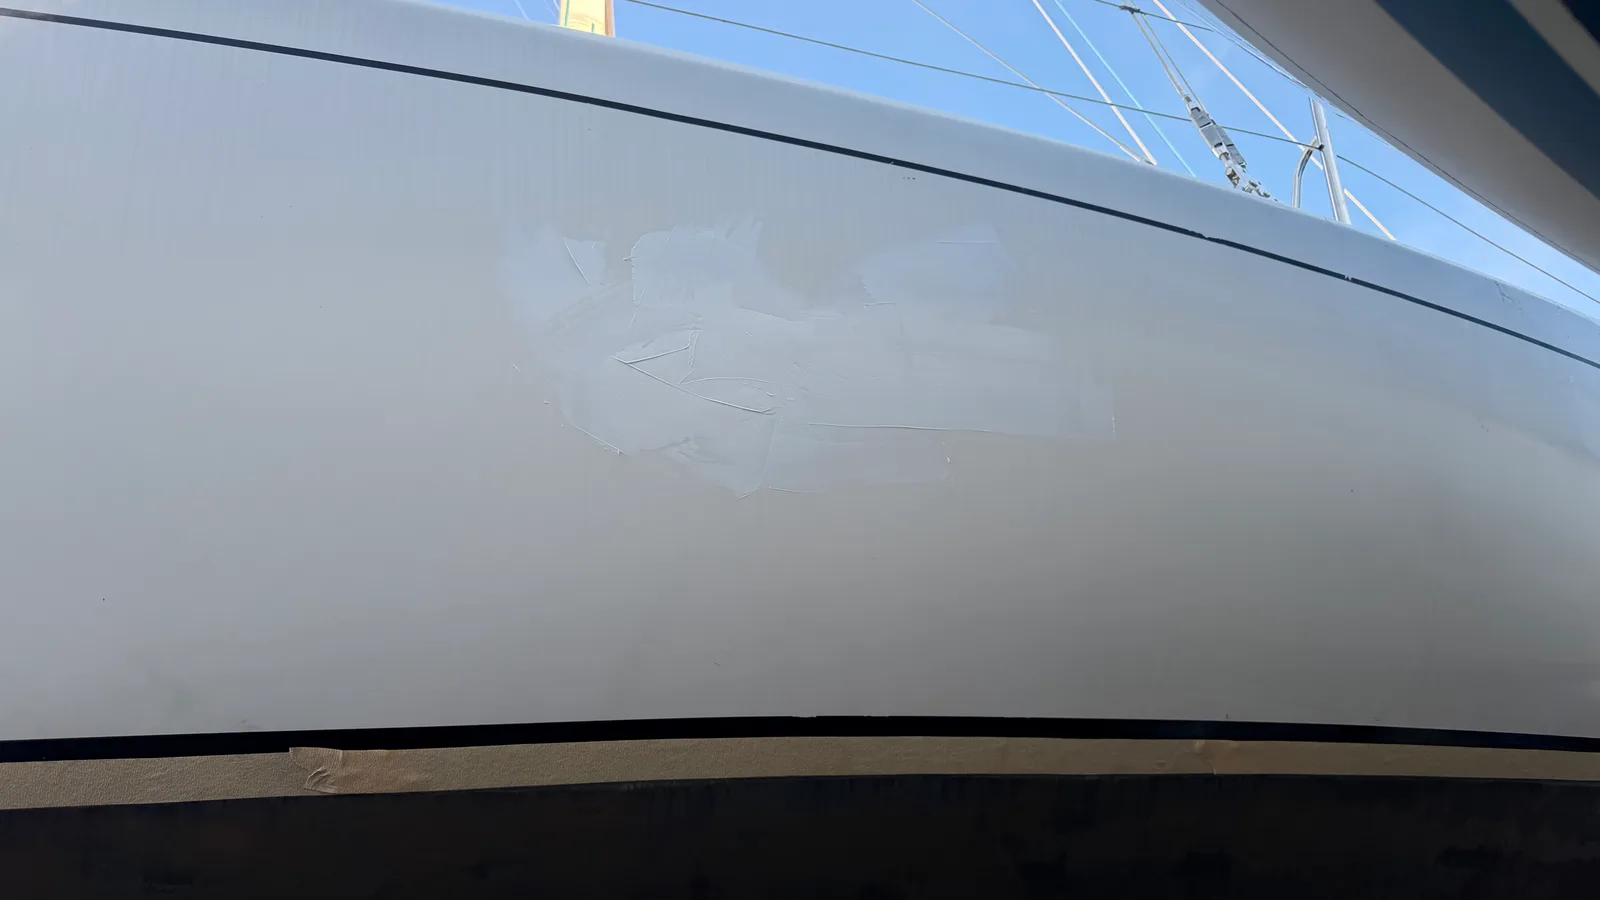
Can you repair chipped gelcoat without repainting? Yes. A spreadable two-component gelcoat rebuilds the missing material; sanded through decreasing grits and then polished, it restores a bright white finish without going to paint.
Why sand with progressively finer grit? Each grit erases the scratches left by the last. Skipping grits leaves marks that polishing won’t recover.
How do you remove an old sticker from gelcoat? With patience, scraping gently: an adhesive baked by the sun comes off millimetre by millimetre. Better to apply stickers with soapy water and remove them before they harden.
Why would scratches appear on only one topside? Often from close contact on that side, at a start or in a tight mark rounding — common on a boat that races. As long as there’s no osmosis or ingress, it stays cosmetic.
This job is part of Jamais’s logbook. See also the hull antifouling.
Renewing antifouling on a J/92s for Lake Geneva: sanding hull and appendages to a sound base, then three coats of hard graphite Thin Film.
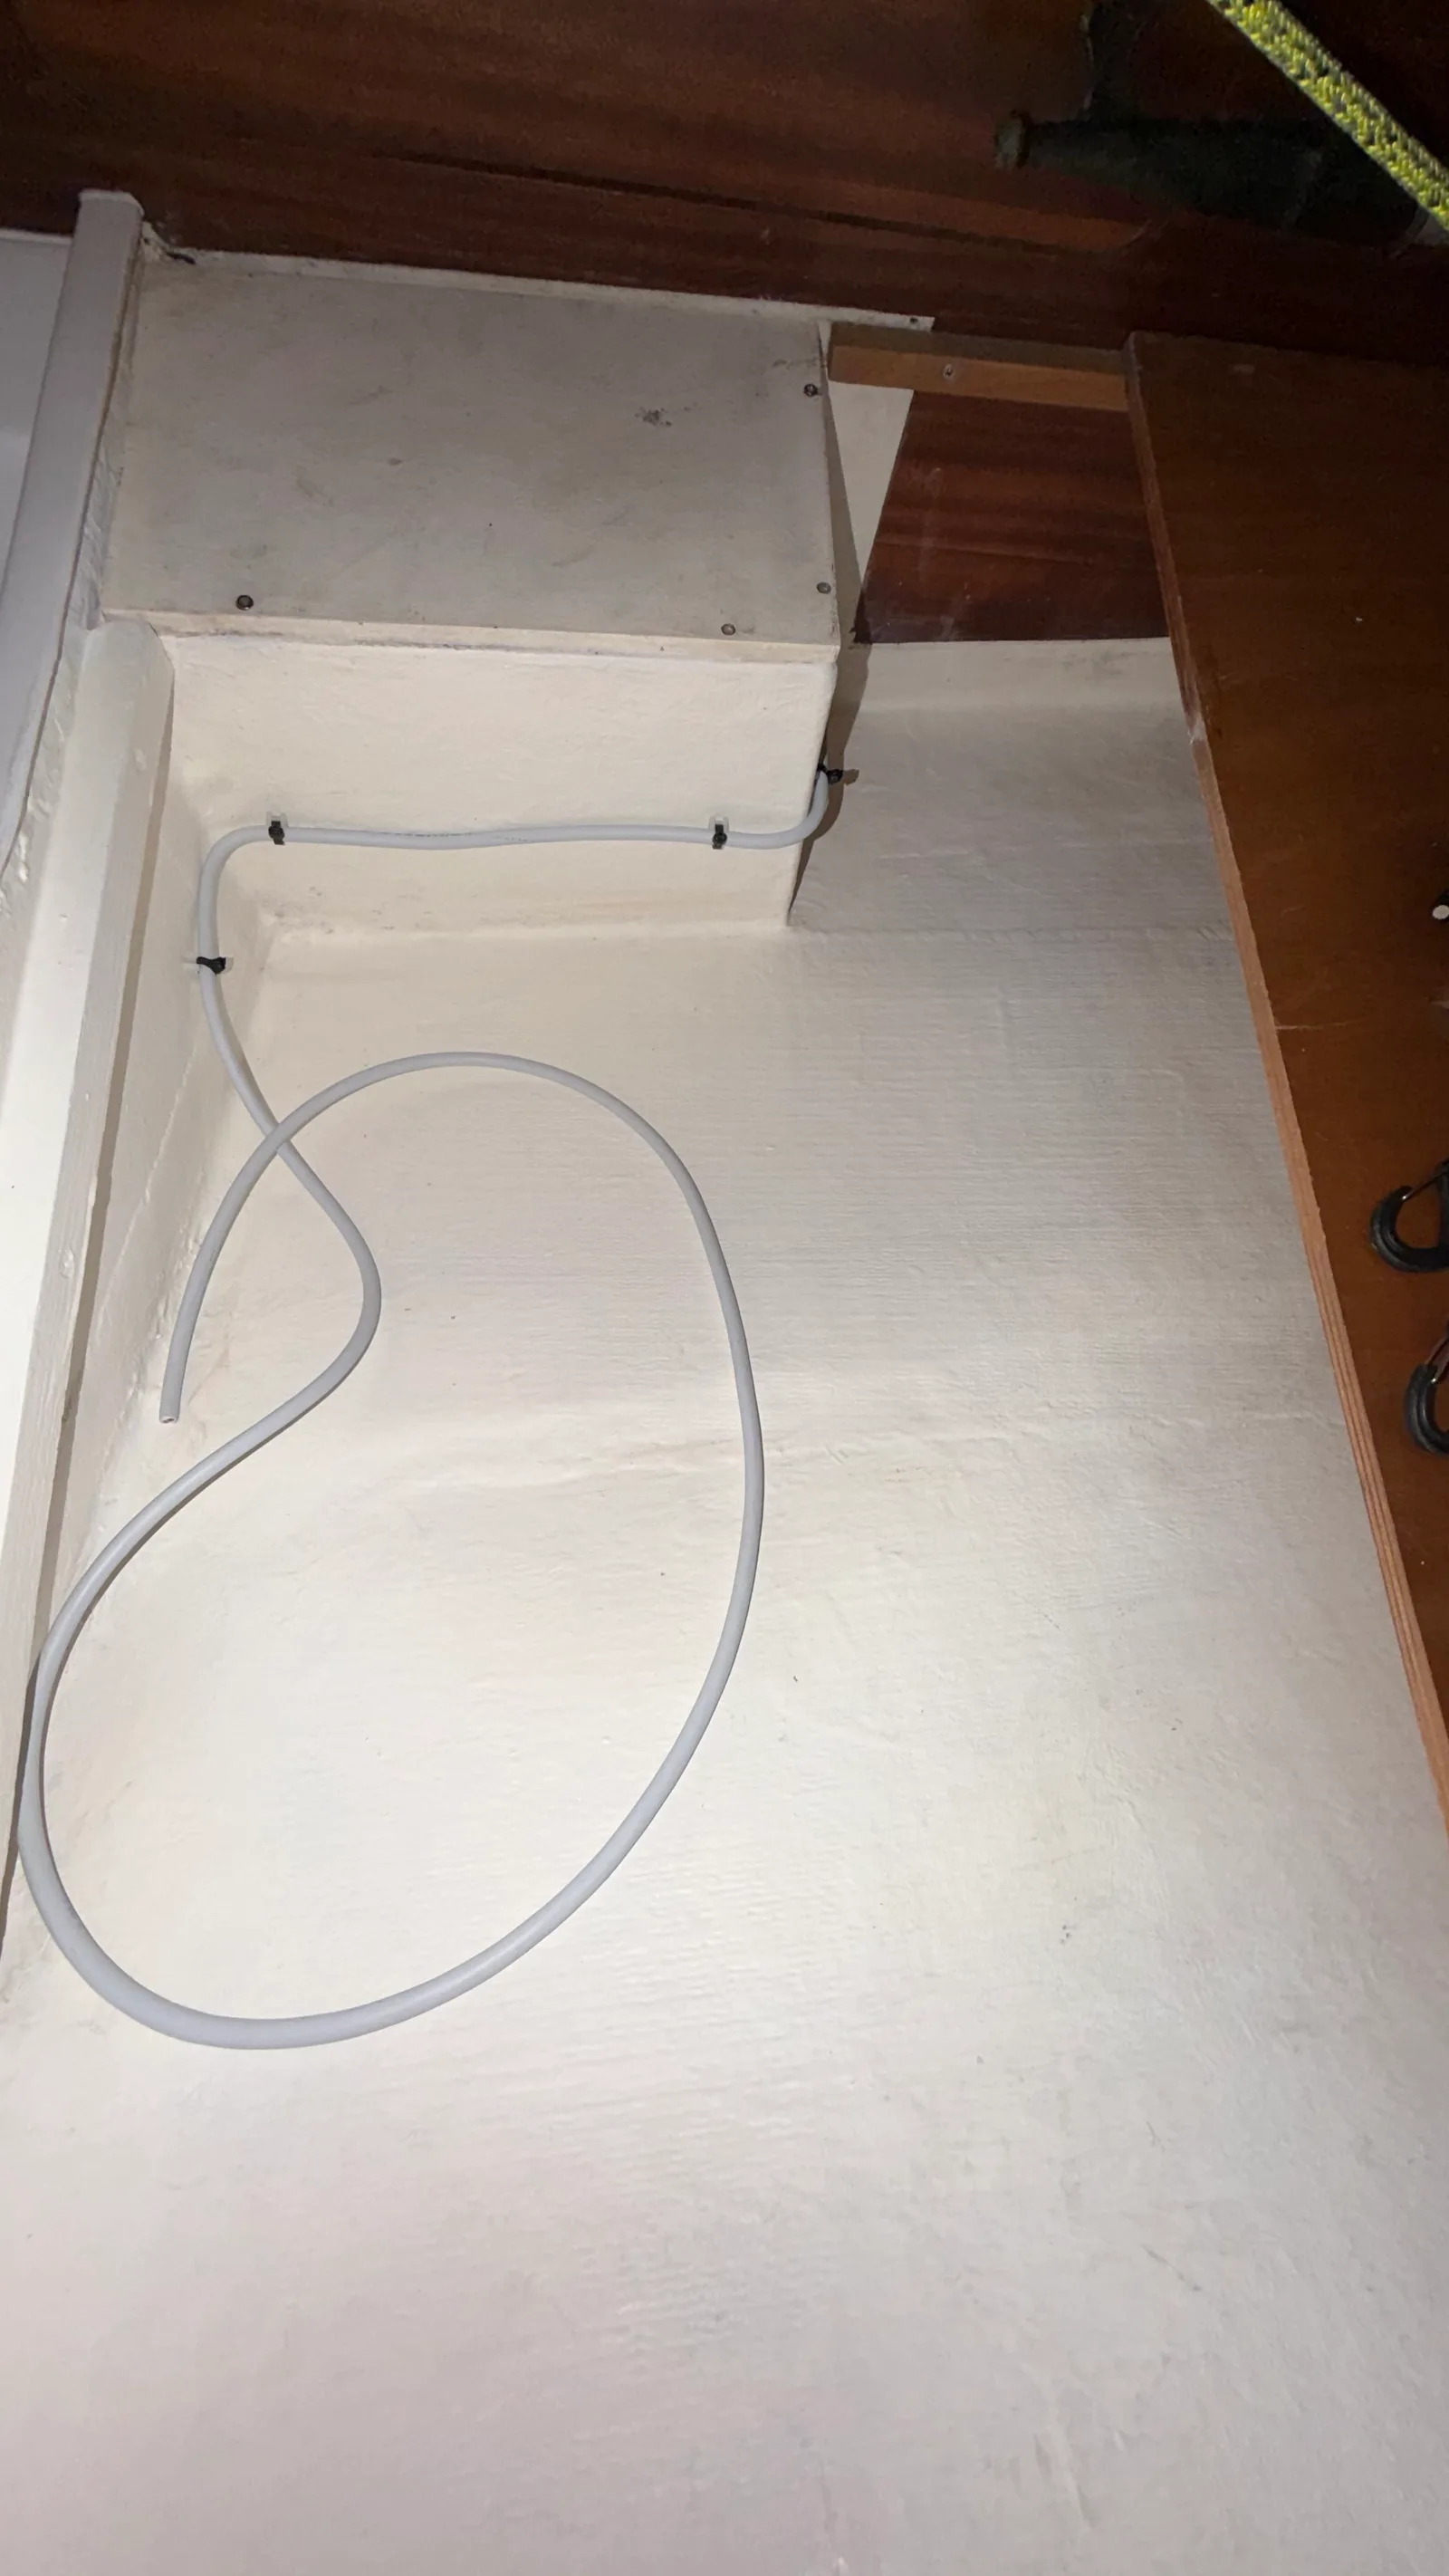
Repairing cracked structural bulkheads on a J/92s with epoxy injection (West System Six10), a spray gelcoat finish, and a repainted bilge.
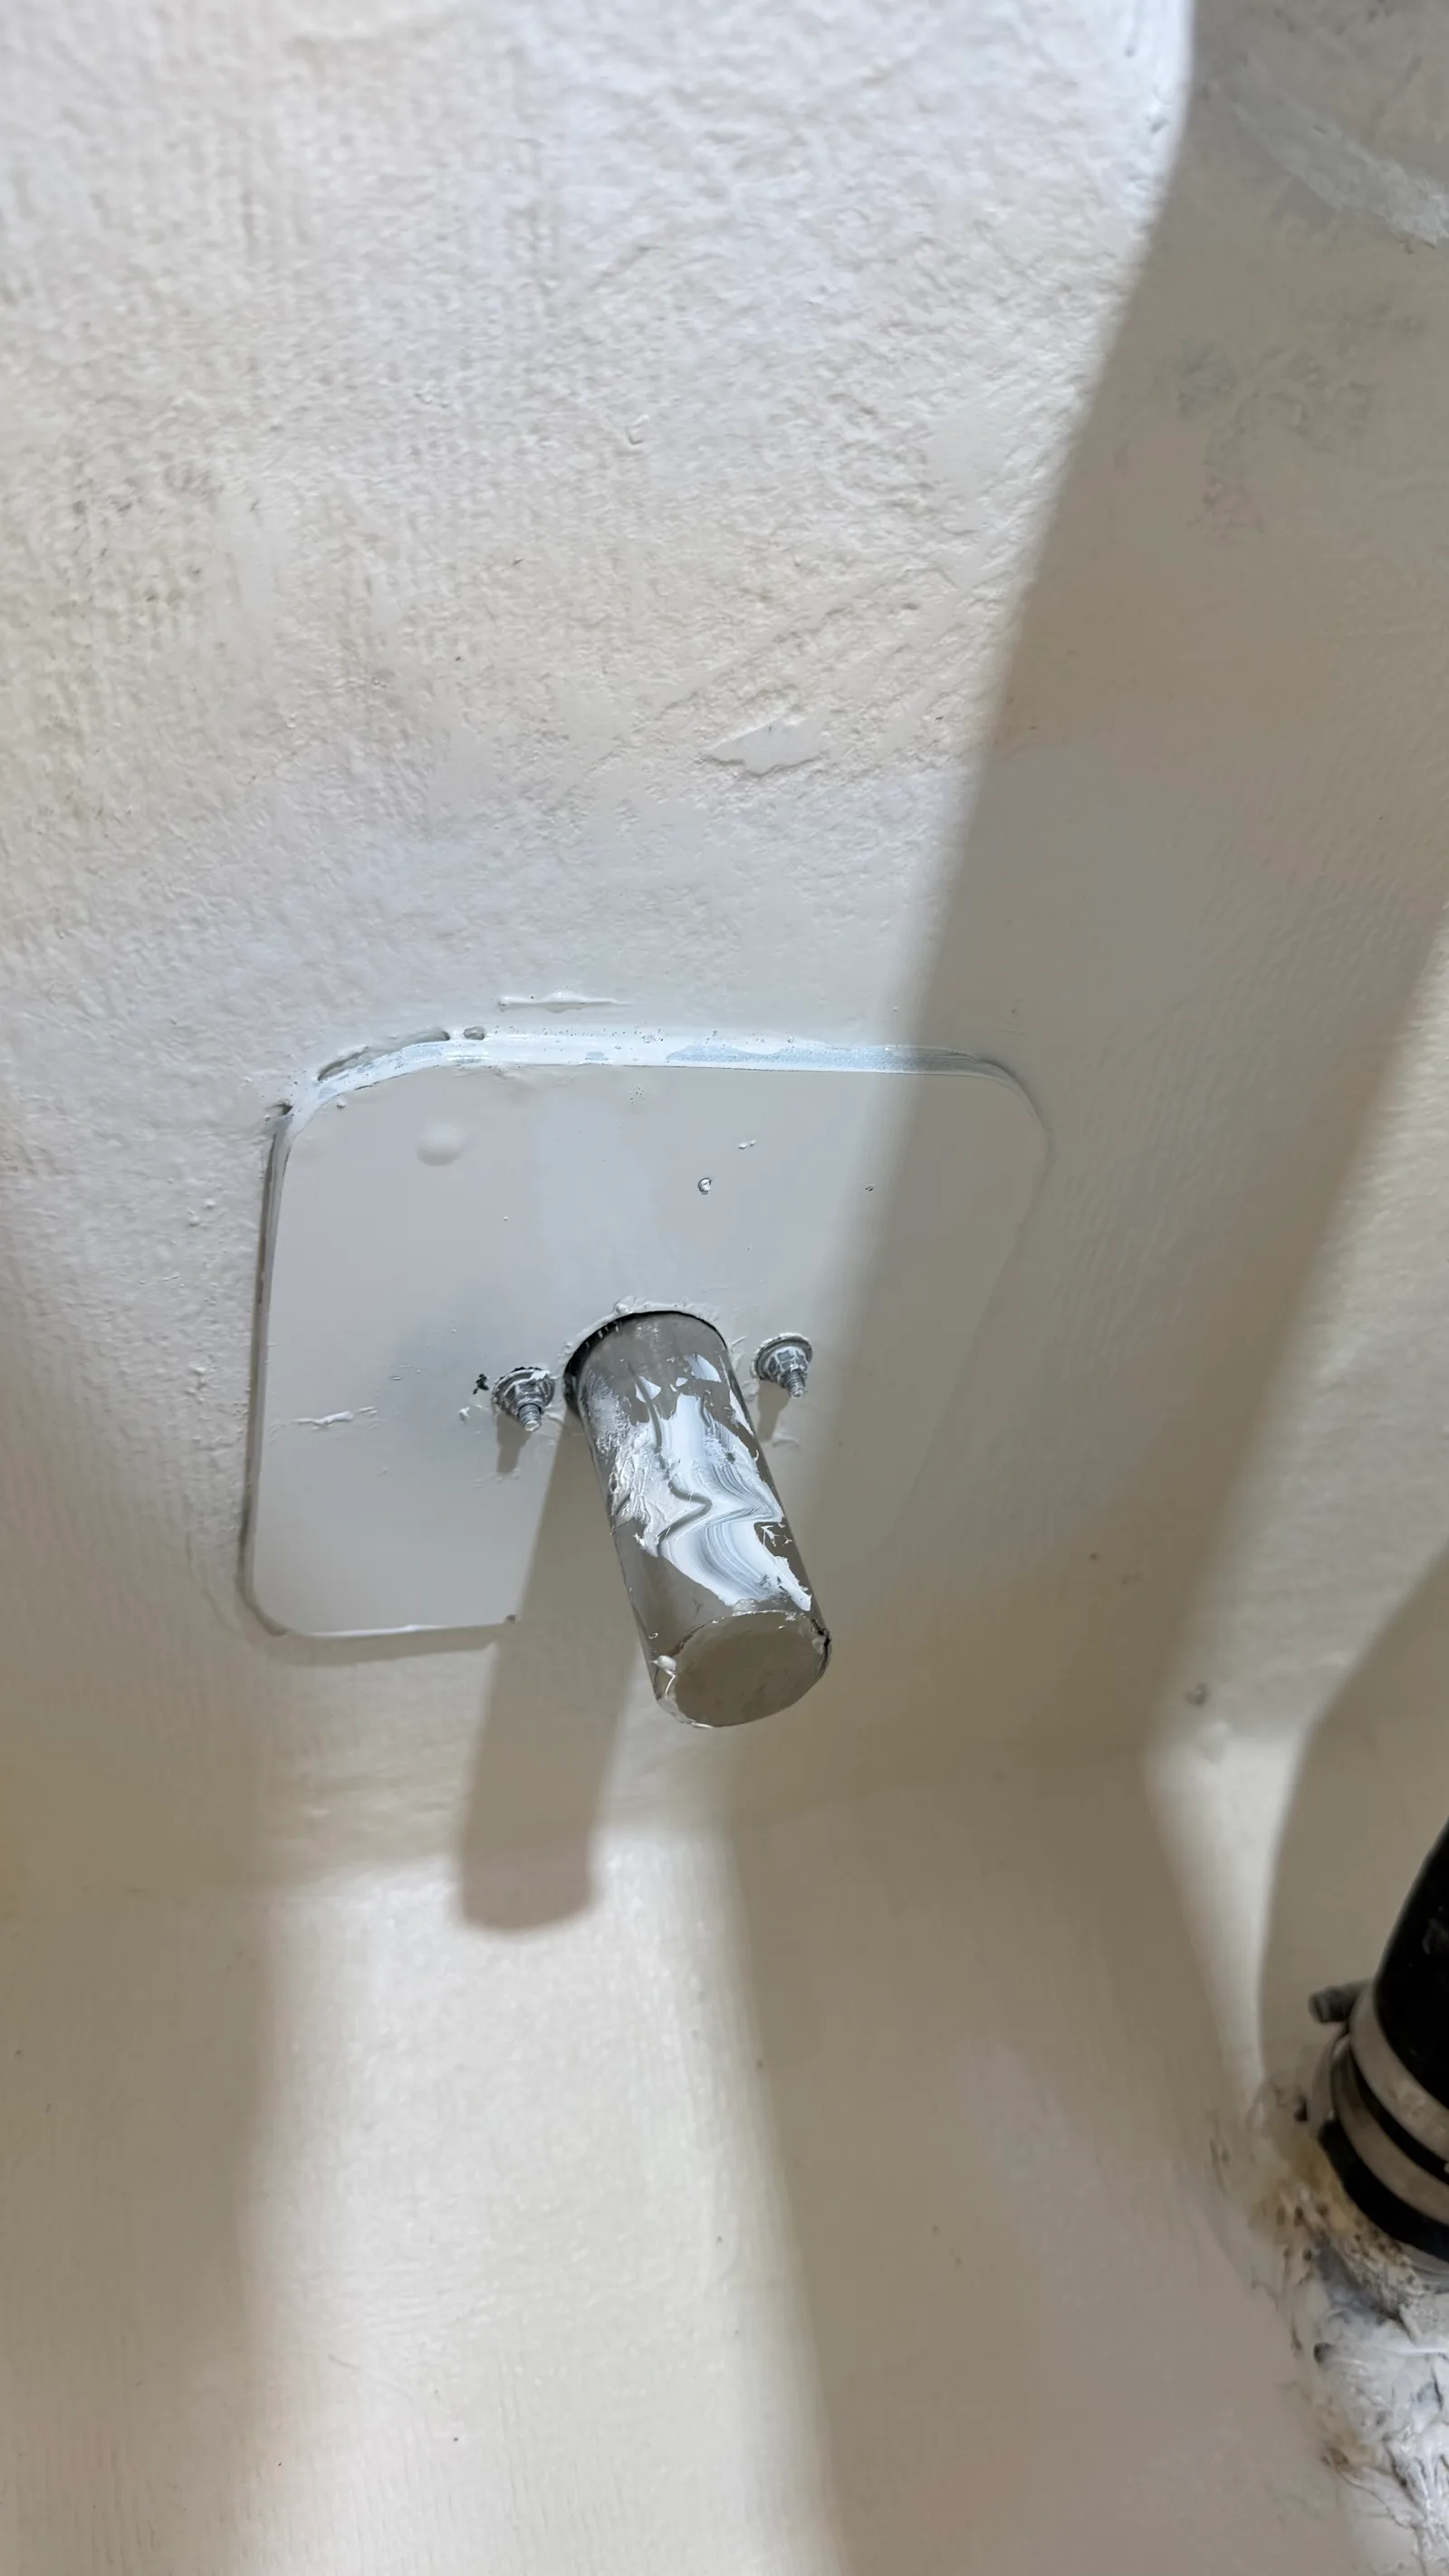
Repositioning leaking swim-ladder sockets on a J/92s: FP4-filled holes, bonded backing plates, and a rebuilt, watertight cockpit floor.
Order your parts, or let’s talk through your programme first.